It's easy to set up a link in bio with Later but it only has limited designs. You'll need to subscribe to a paid plan for more features.
Key takeaways:
- The domain that they use is not later.com but linkin.bio.
- Username can be changed once every 30 days.
- Accepts only 1 link per social media platform (e.g. 1 Instagram link allowed).
- Only 11 designs are available.
- Comes with a free plan and paid plans raning from $25 to $80 per month.
Let me share my journey in setting up a Later link in bio page so you know what to expect should you decide to use this platform. Please be advised that all the information I share here is based on my own experience. I'll even include actual screenshots so you can better understand and follow my review.
So, are you ready? If yes, then let's begin!
The test starts by accessing Later's website
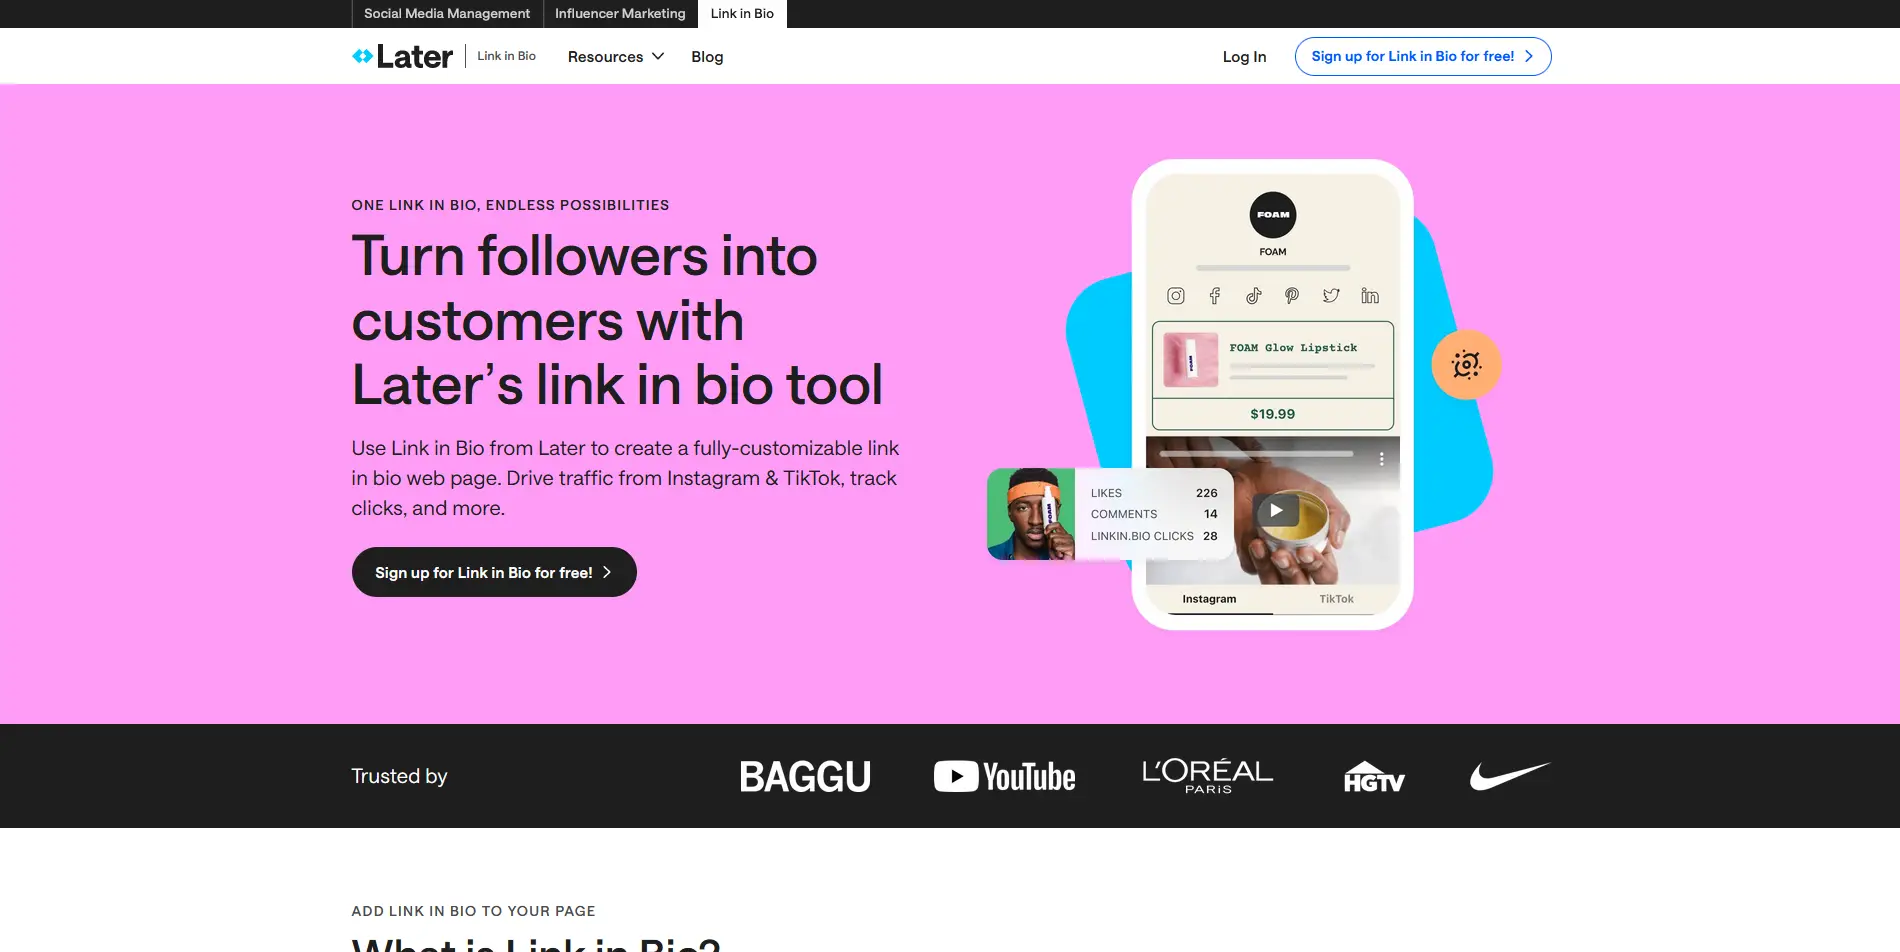
Similar to the previous platforms I've tested, I started by visiting Later's website. It was good to know that their website address is simply later.com, unlike other brands that have weird domain extensions. Their homepage was pretty basic, and I just clicked on "Sign up for Link in Bio for free!" to register for an account.
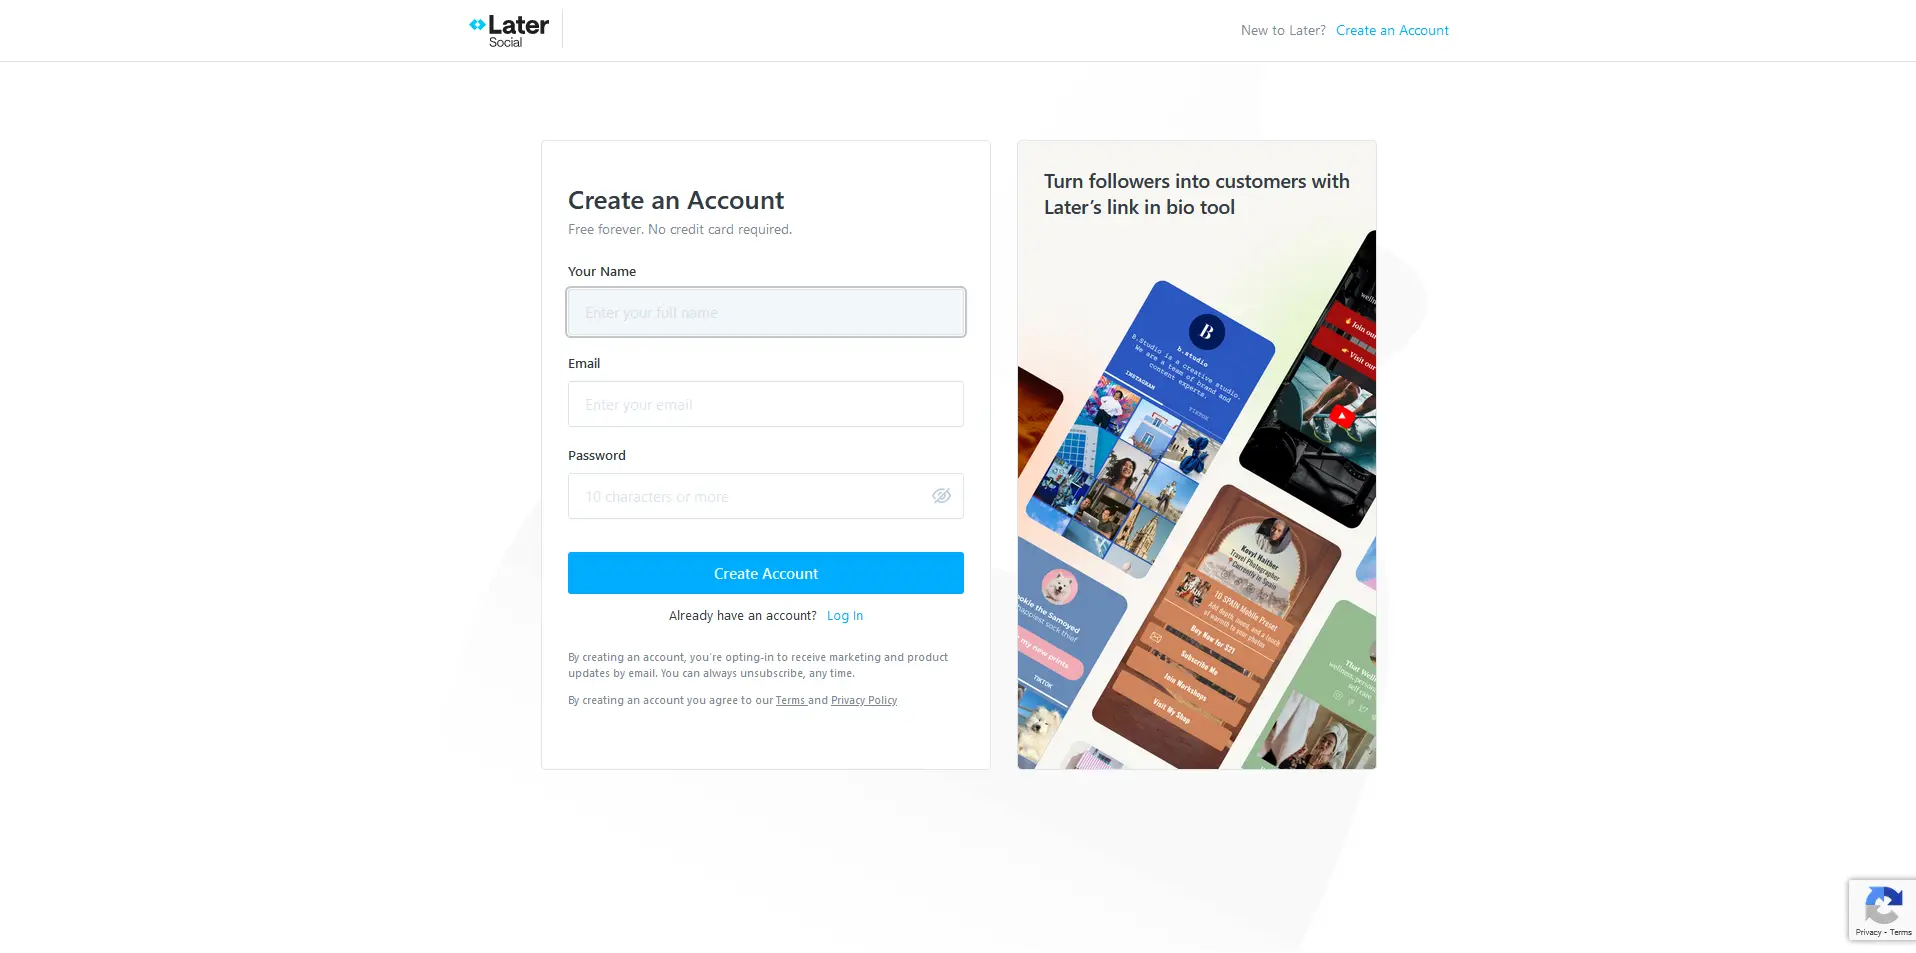
The registration process was a no-brainer
Signing up for an account with Later was fairly simple. I entered my name, email address, and the password I'd like to use for this account. Then, I clicked on the blue "Create Account" button to proceed to the next page.
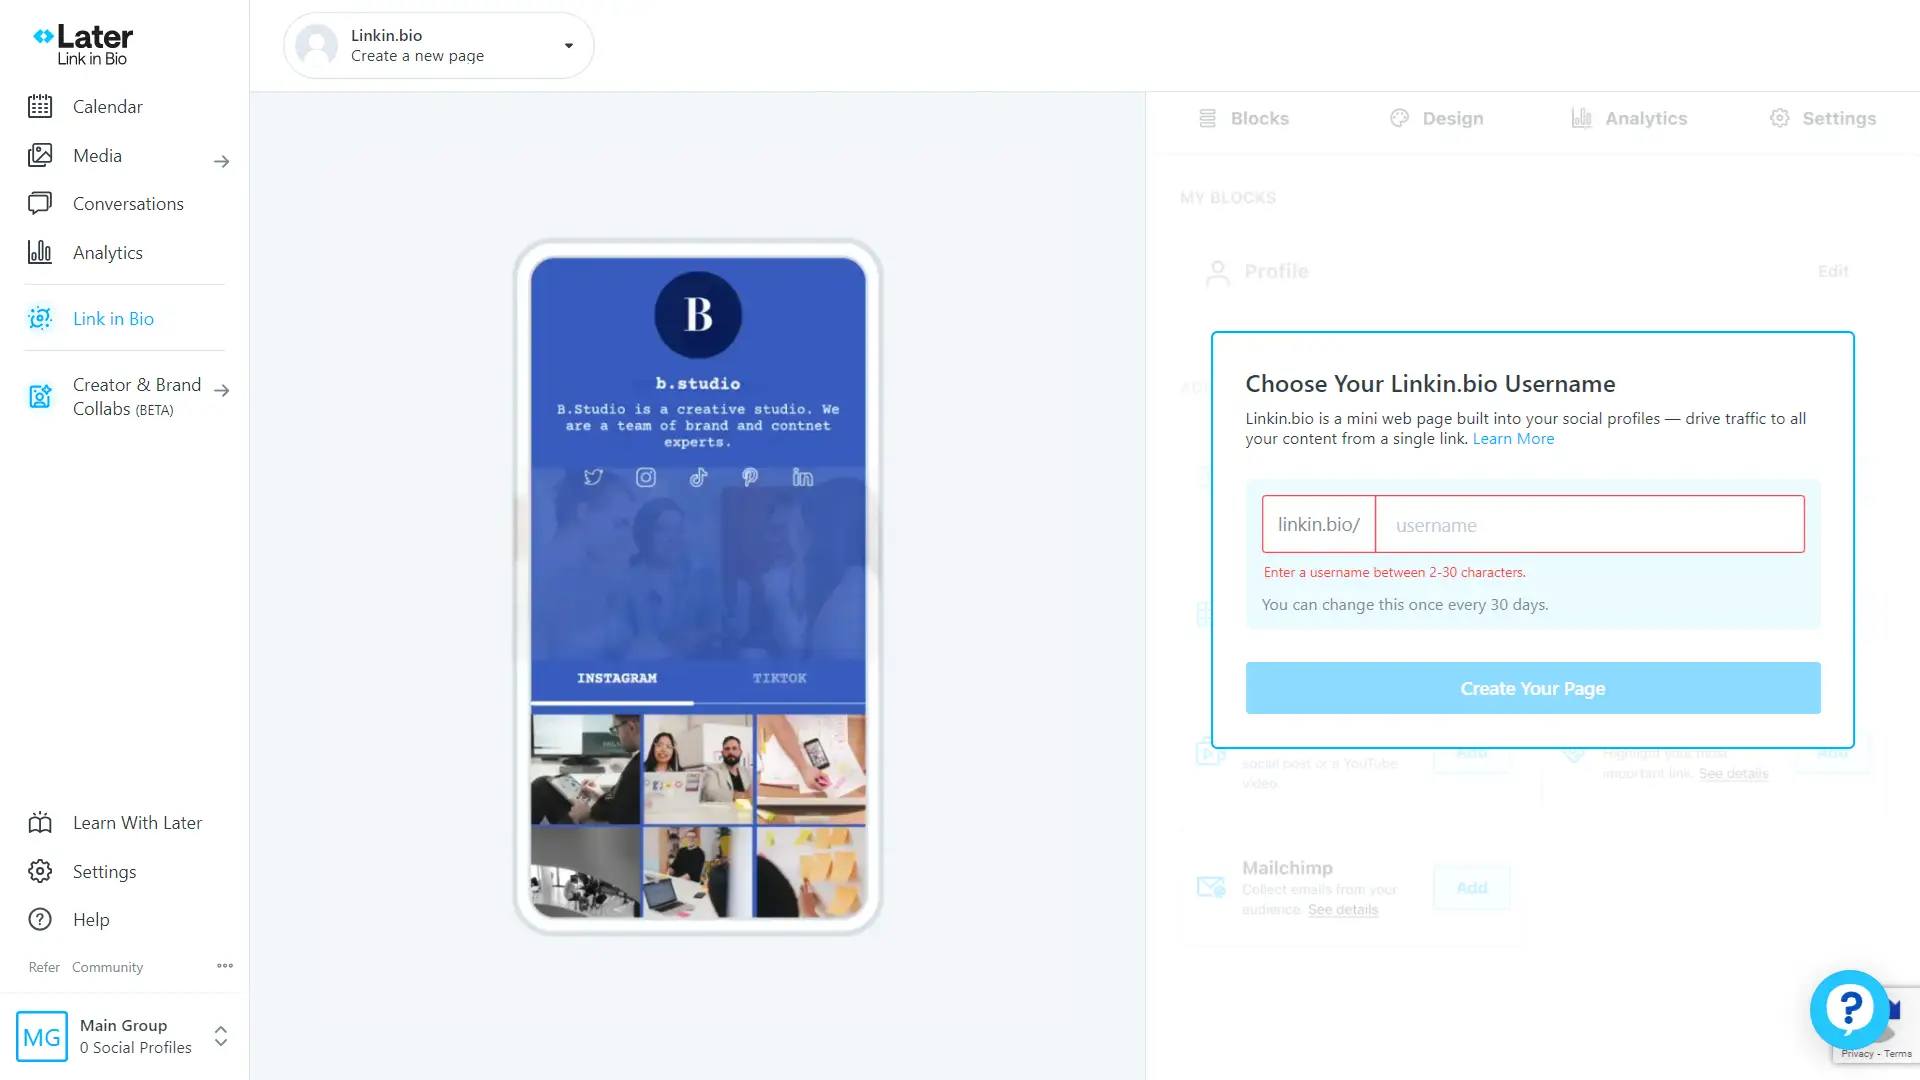
The next screen showed me the dashboard. I thought I was done, but it turns out I still needed to set up my link in bio account by entering my preferred username. At this point, I realized that the domain used for bio link pages would be linkin.bio and not later.com. This actually sounds better and more relevant.
The username length can be between 2-30 characters. I was tempted to use "ms" since the minimum was just 2 characters, but unfortunately, it was already taken. It was also interesting to know that the username can be changed once every 30 days.
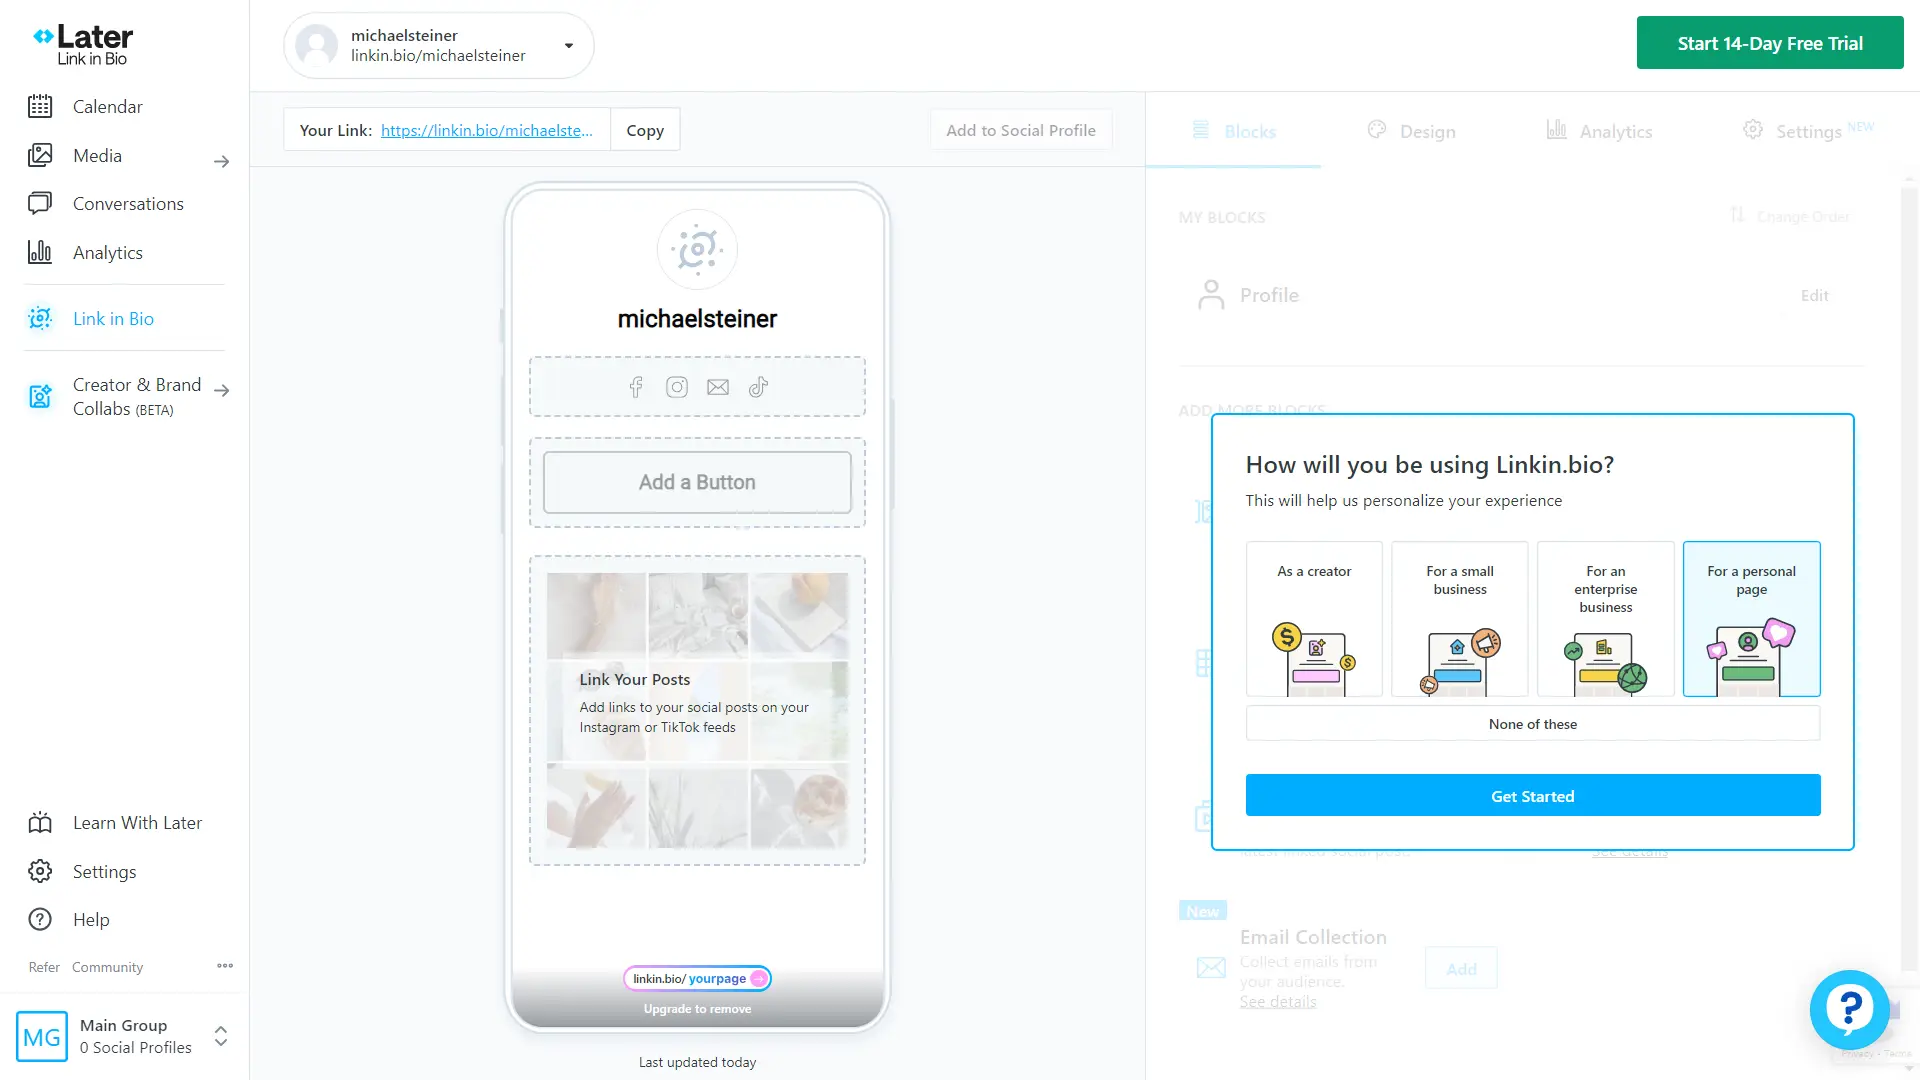
After setting my username, Later asked me how I would be using my link in bio to personalize my experience. It gave me the following options:
- As a creator
- For a small business
- For an enterprise business
- For a personal page
Given that my goal was to set up a page for my social media profiles and relevant websites, I selected "For a personal page" since I'm not planning on extensive customization anyway.
The customization begins here
Now that the account has been fully set up, it's time to customize my bio link page. This starts with setting the blocks, and below were my options:
- Profile: This block is automatically added and cannot be removed.
- Multi-Item Banner: This block is useful for highlighting multiple items all in one place.
- Buttons: You can use this to drive traffic to your website, blog, online store, or any other web pages.
- Linked Social Posts: A cool feature where you can add links to social posts to direct your audience to the right content.
- Social Links: This is where you need to put all of your social media platforms.
- Featured Media: You can feature an image, a YouTube video, or your latest linked social post.
- Featured Banner: Here, you can highlight your most important link.
- Email Collection: This is similar to a mailing list. You can collect emails and save them as a CSV file or export them via Mailchimp.
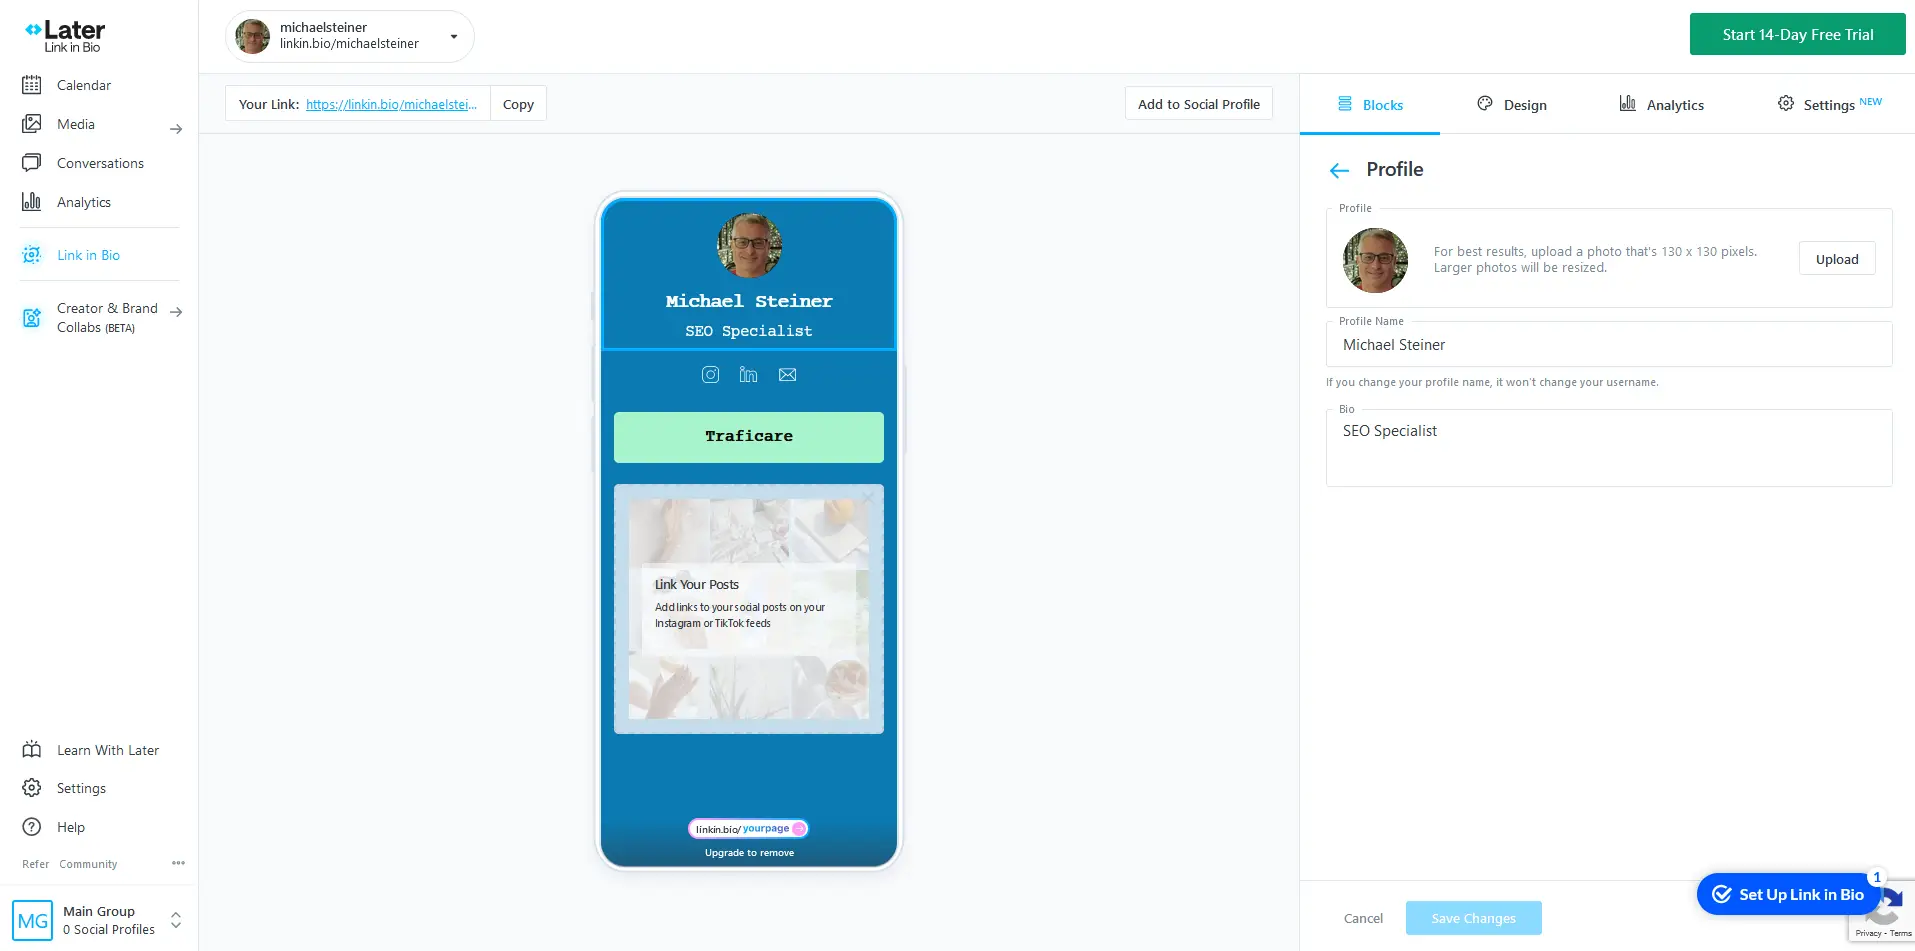
The first block that I configured was "Profile," which was already added by default. This is where I had to add my profile photo, profile name, and a short bio.
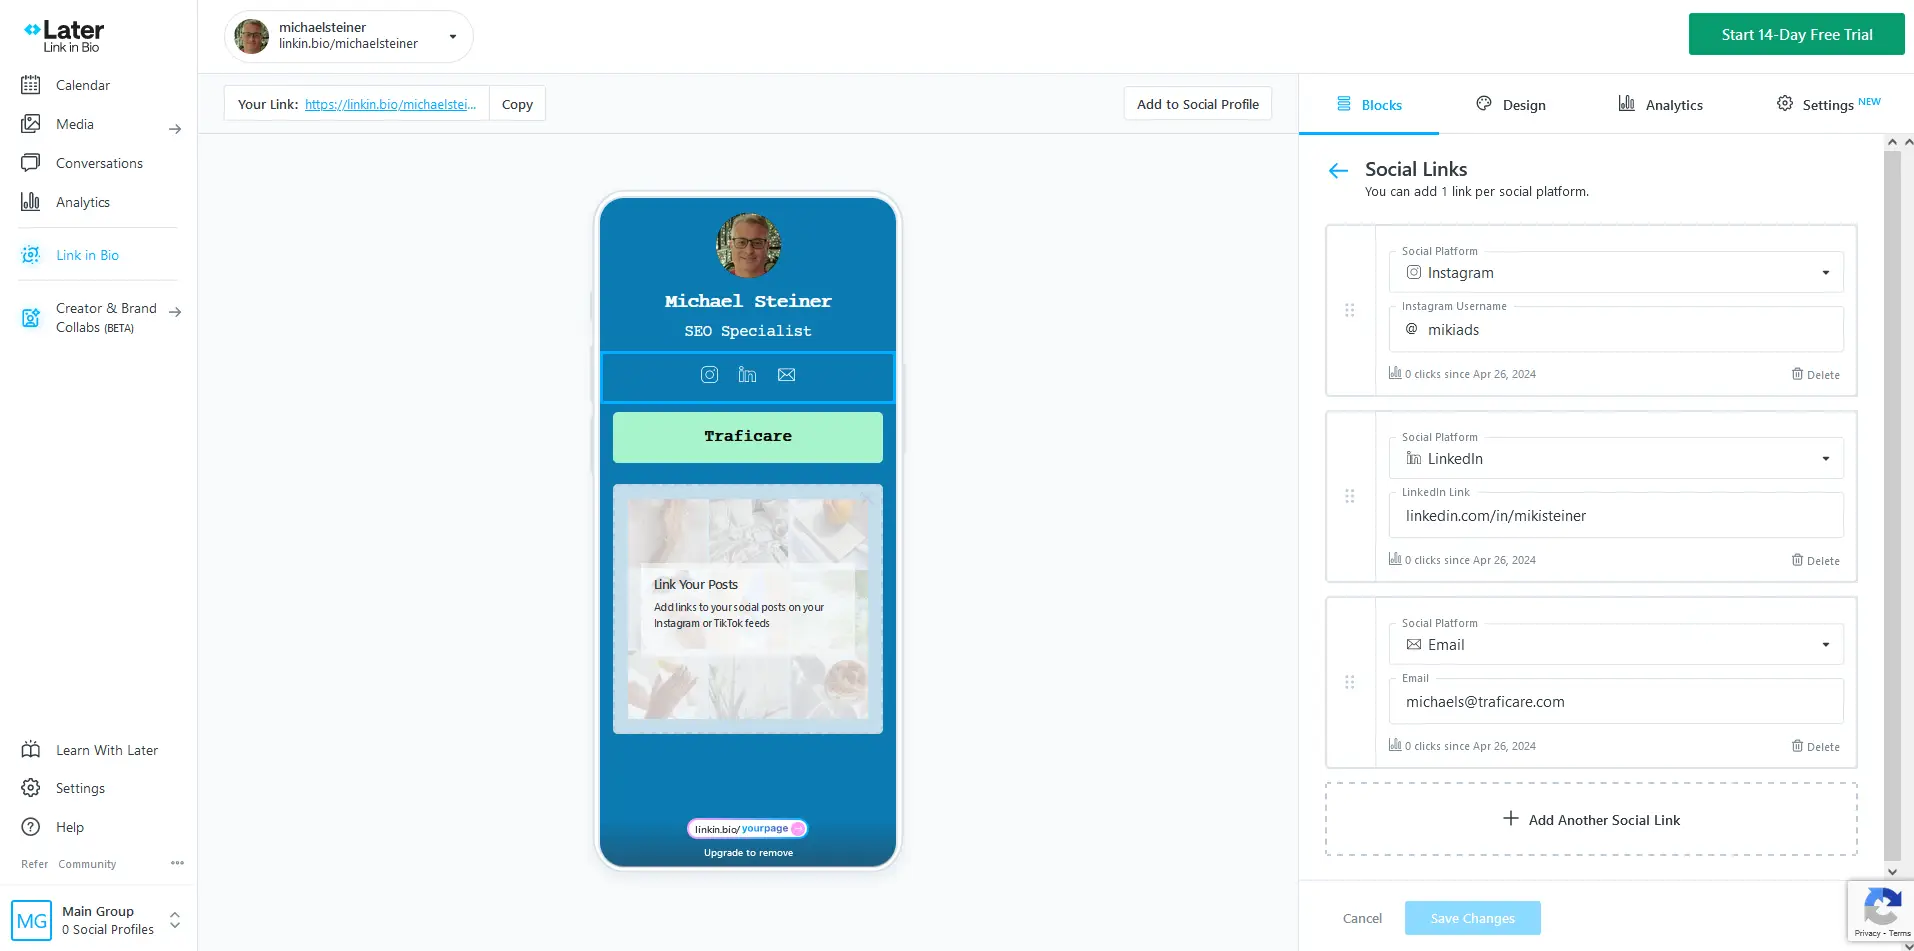
The next block that I added was the "Social Links," which was the most important item for me because I wanted to present all my social media profiles in this section. Here, I learned that I can only add one link per social platform. That means I won't be able to add, let's say, two Facebook pages due to this restriction.
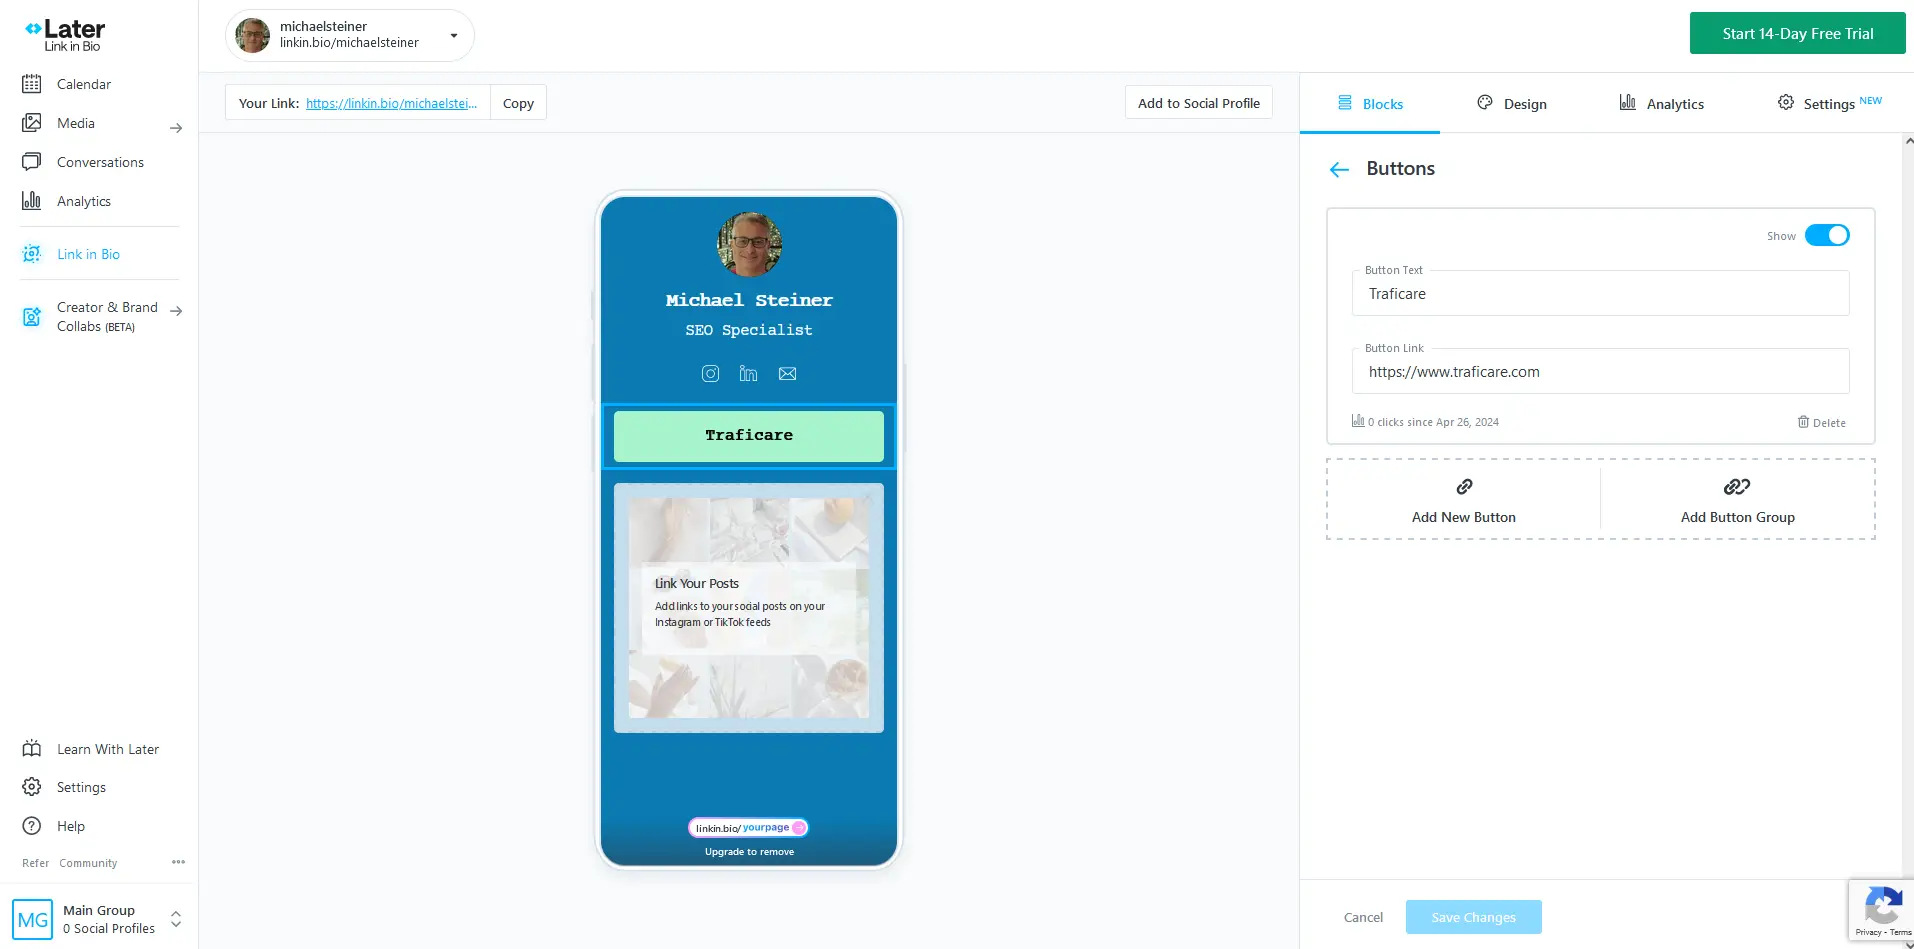
I also decided to add a button for my website. Using this block, I just needed to add button text and the link where the page will take your audience when they click on this button.
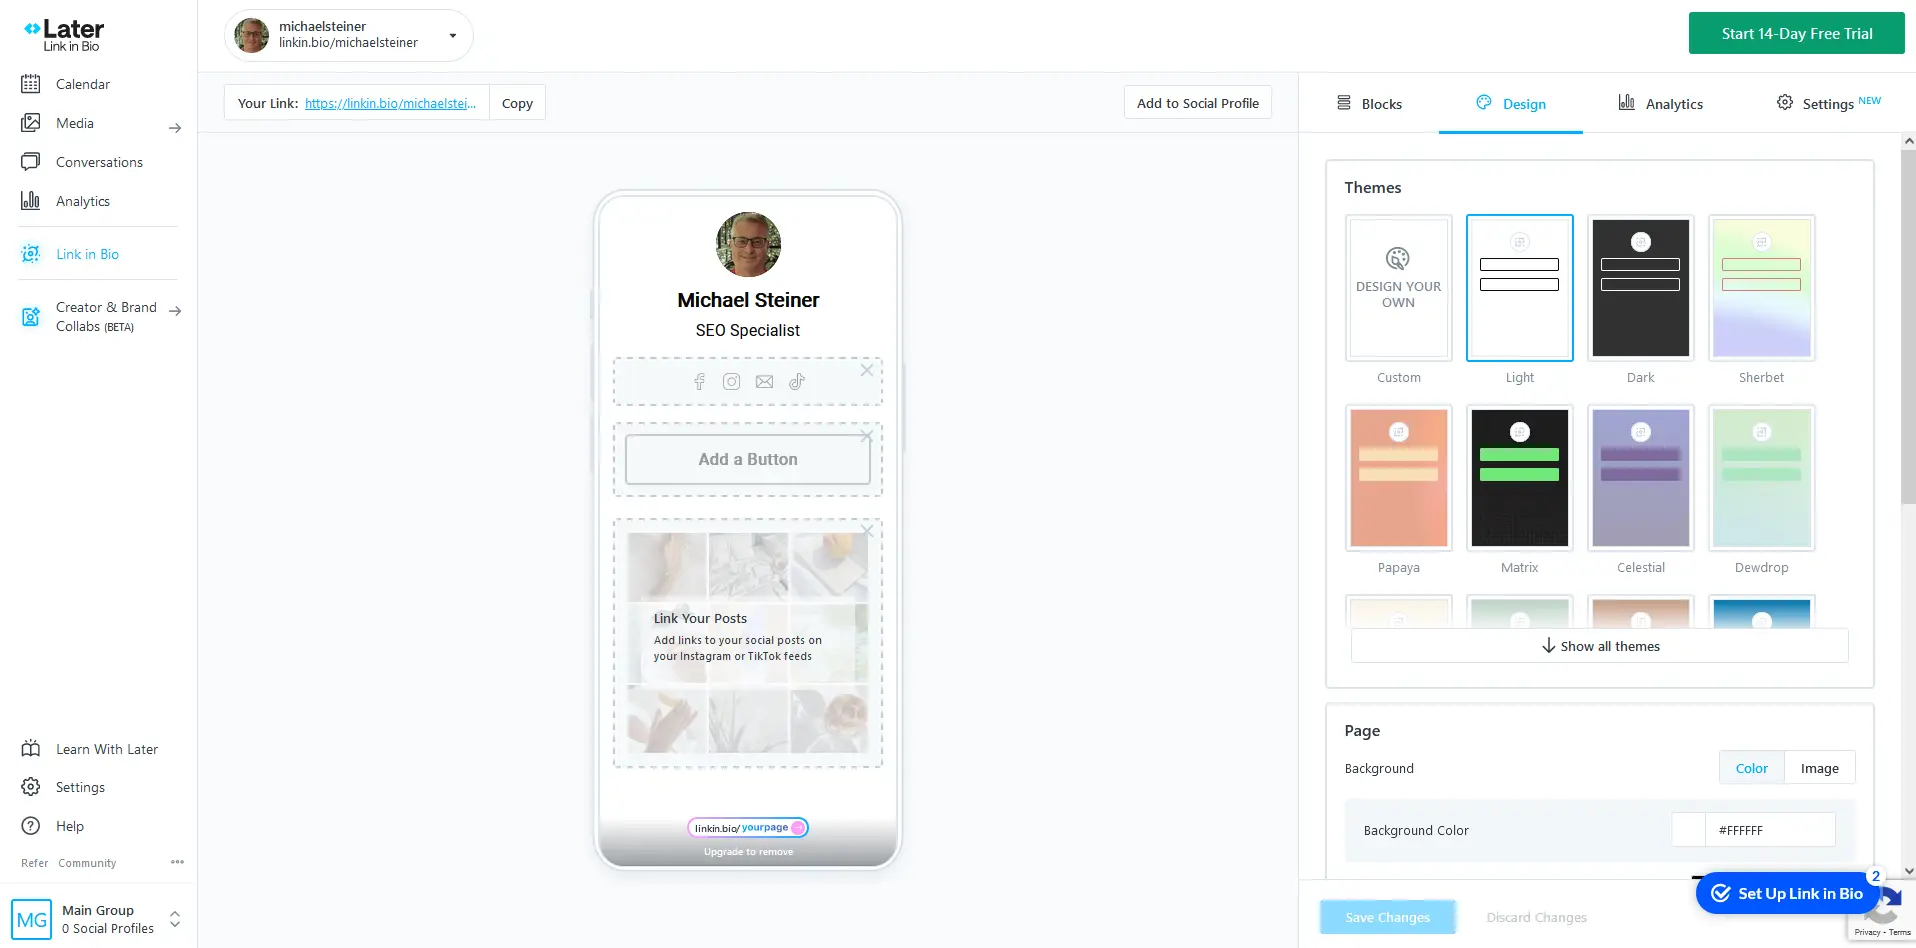
The next step is to choose the design that I'd like to use for my page. For me, this was the most exciting part, as it allowed me to express my personal style and brand identity. Picking the right colors, fonts, and layout felt like bringing my digital persona to life.
Here were the available themes accessible under my account:
- Custom
- Light
- Dark
- Sherbet
- Papaya
- Matrix
- Celestial
- Dewdrop
- Almond
- Pistachio
- Sandcastle
- Aquarium
Excluding the Custom, there were only 11 designs to choose from which was disappointing because I was expecting more than that. Nevertheless, Aquarium was the best among the choices so I selected this design for my page.
Mission accomplished, my Later Linkin.bio established in just a few minutes!
Curious to see my Later Linkin.bio profile on your browser? You can access it via this URL: linkin.bio/michaelsteiner
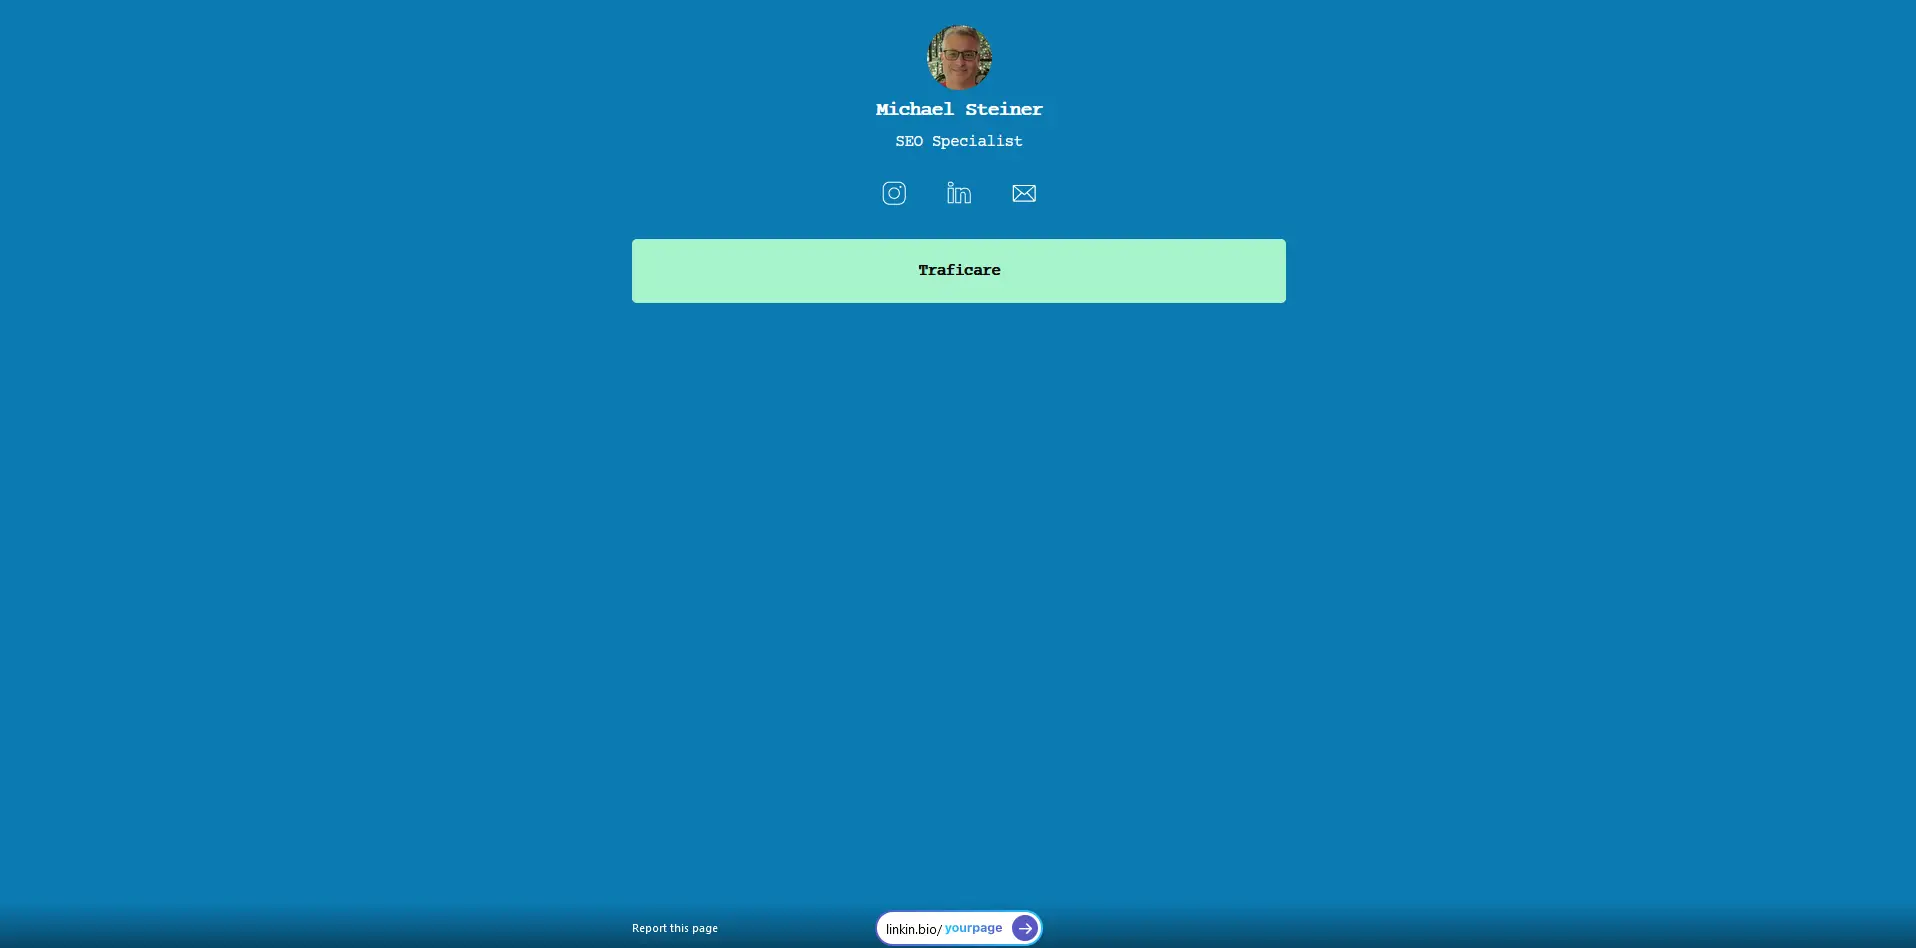
Here's a screenshot of how it looks on a desktop web browser. There's still plenty of empty space, though, so it would have been better if their themes came with a nice background photo to make it more visually appealing.
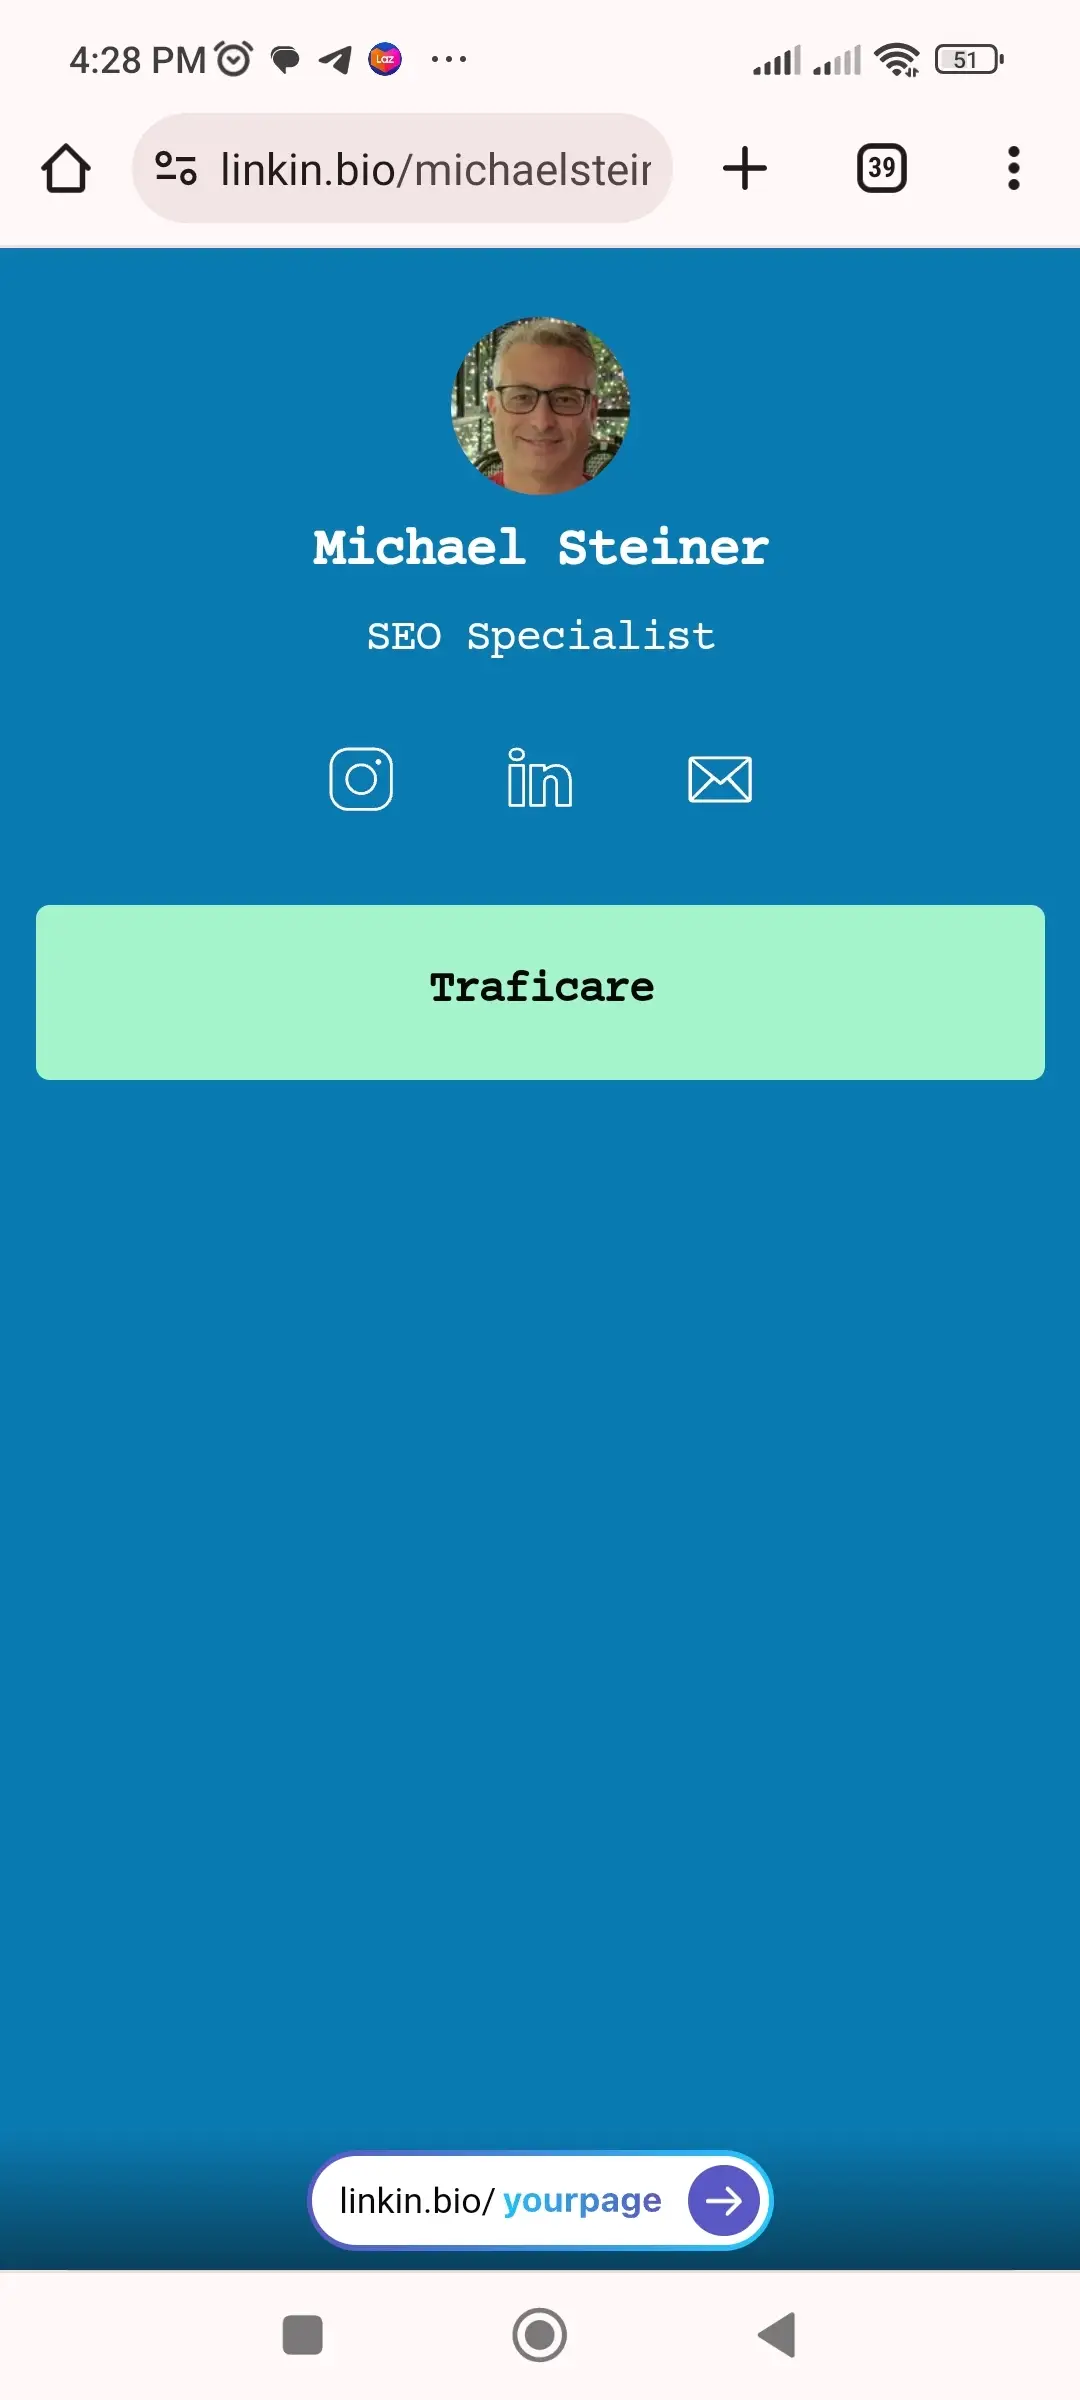
And here's how it looks on a mobile device. It was nice to know that these designs are already responsive, so they will be easy to view on whatever device or screen size my audience is using.
Analytics will show your Later's Linkin.bio interactions
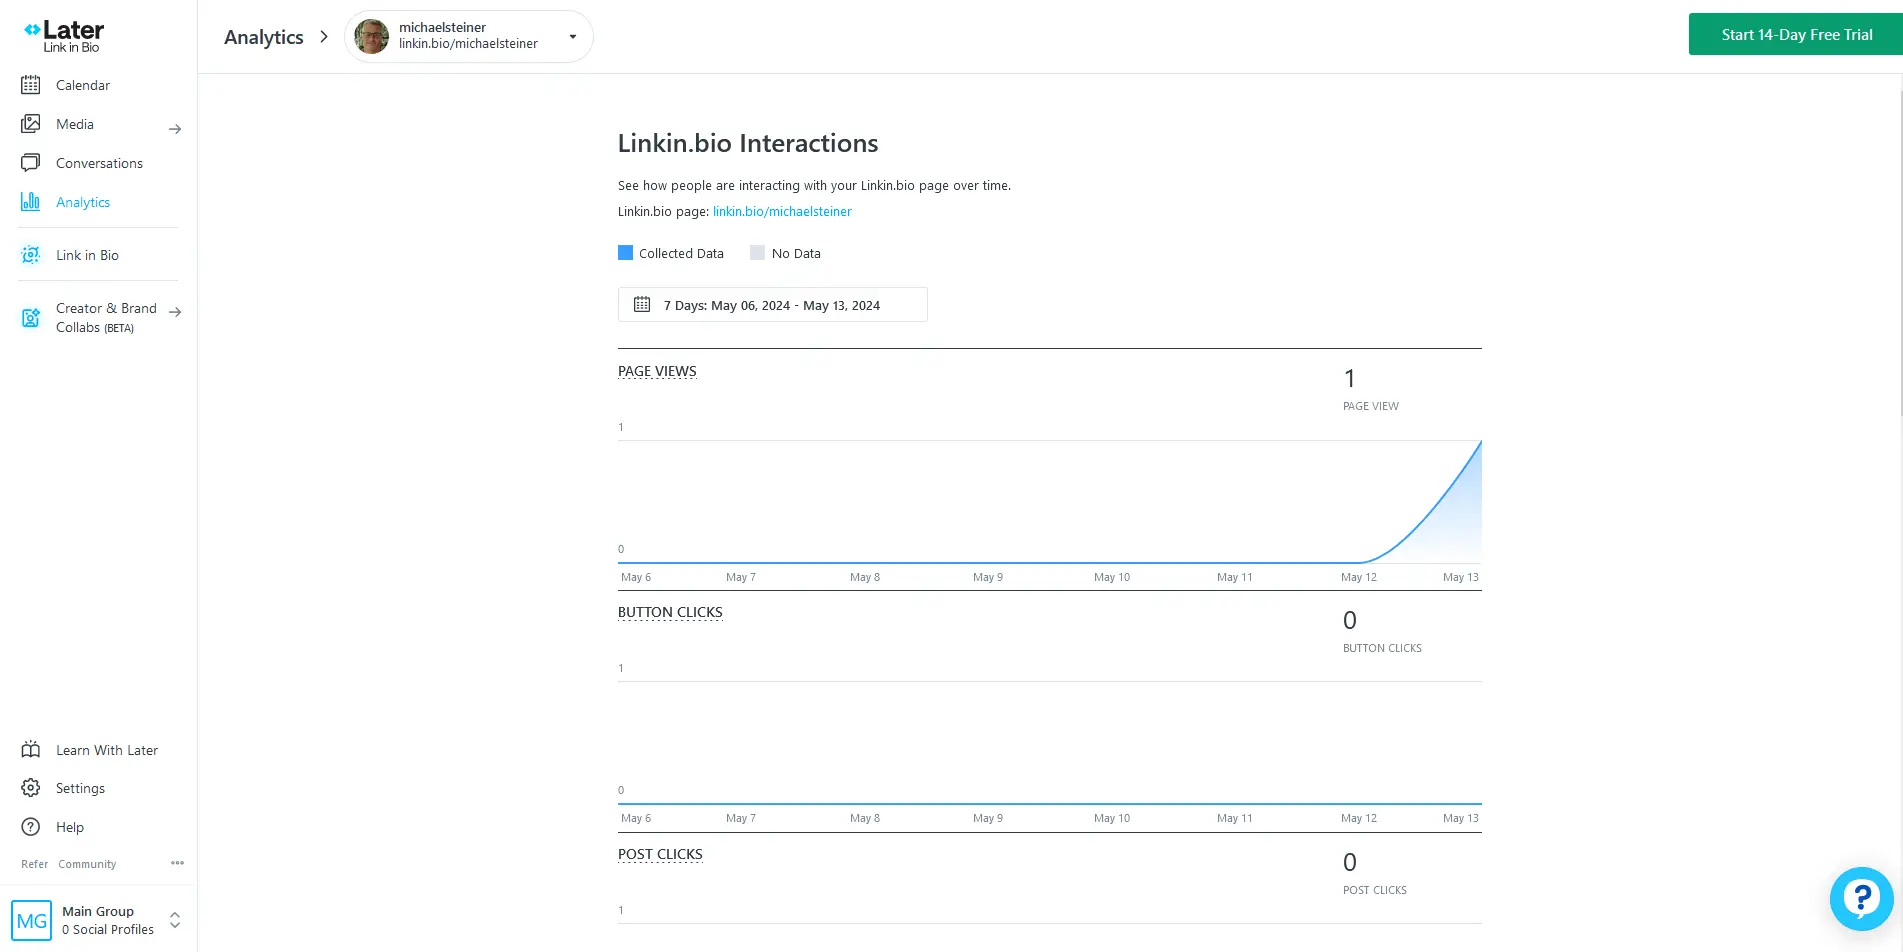
I explored Later's analytics and found them to be pretty basic. They can provide insights for page views, button clicks, and post clicks, but beyond that, there's no other available data from this feature. For me, it was basically okay, but for those who prefer to have more data, this could be a disadvantage.
For free plan holders, human email customer support is only available for the first 30 days
I also tried exploring their customer support and learned that they can only be contacted via email. Using the chatbot, I discovered that since I am using the free plan, I'll only be able to enjoy human support for the first 30 days, and after that, their agents won't be able to help me anymore. The chatbot was useful for basic and simple questions but this is not reliable if you're going to ask more complex inquiries or account-related concerns.
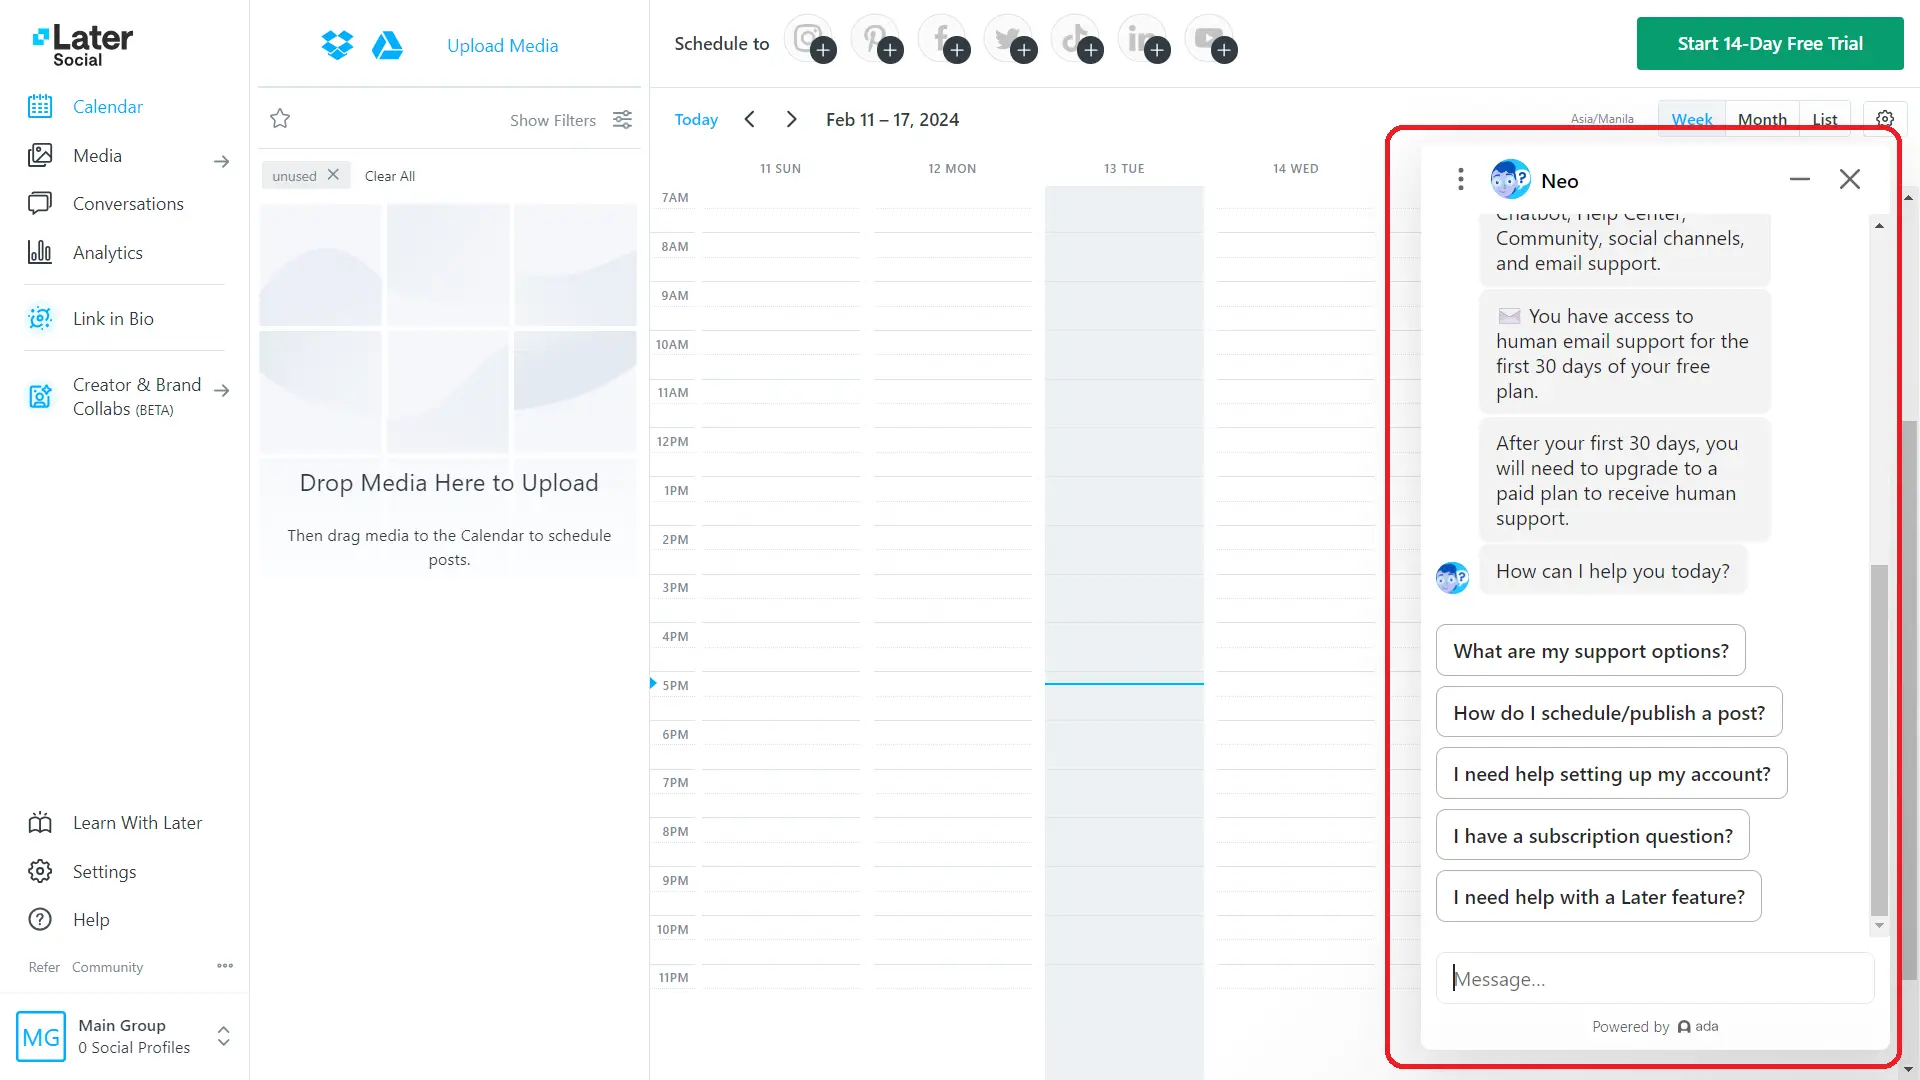
If you're planning to use the free plan and expecting good support, then you're out of luck because they won't be able to assist you after your first month with them. Your only choice is to upgrade to a paid plan (more on that in the next section).
The paid plan has a 14-day free trial
While Later does offer free access to basic features under the Free plan, all the cool stuff that makes things more interactive will have to be paid for if you want them. That might not seem like much of an issue for larger businesses, but if you’re an individual creator or smaller business owner then the cost might be a barrier towards anything other than the free version.
| Later Plan | Cost Per Month |
| Free | Free |
| Starter | $25 |
| Growth | $45 |
| Advanced | $80 |
There are three paid plans to choose from, and the premiums are considerably high, so be sure to consider your budget first and see what each plan offers (that is, if you decide to upgrade).
Pros & Cons
Pros
- Easy to set up a link in bio profile
- Username can be modified once every 30 days
- All designs are responsive
- Analytics are above than basic
- Has a 14-day free trial for the paid plans
Cons
- Only 11 designs available
- Allows adding only 1 link per social media platform
- Human email support ends after the first month (for free plan)
- Paid plans are expensive
My Verdict
Setting up a Later Linkin.bio profile was fairly easy, and my overall experience with this platform was okay but not remarkable. While I do appreciate the user-friendly interface and the quick process of establishing my bio link page, the limited designs, the lack of human customer support (after the 1st month for the free plan), and the costly premiums are making me think twice.
If you want a very basic link in bio profile, then it might suffice, but you might want to consider other platforms that offer more features and services even for non-paying users.


